Memorial photos help visitors feel the person behind the dates. A good photo collection does not need to be large. It needs to be recognizable, balanced, and easy for family and friends to browse.
On CreateMemorial, photos can support several parts of the experience: the main profile photo, the cover image, the gallery, stories, tributes, and funeral slideshow projects. This guide explains how to prepare memorial photos so they look respectful online and remain useful for sharing, printing, or video.
Start with the main memorial photo
The profile photo is the image most visitors will see first. Choose a clear portrait with good light and a calm expression. If you only have a group photo, crop it so the person is centered and still sharp.
| Photo type | Best use | Tip |
|---|---|---|
| Portrait | Main profile image | Keep the face large enough to recognize on mobile. |
| Family photo | Gallery or story | Add a caption so visitors know who is in the picture. |
| Old printed photo | Life story or slideshow | Scan it or photograph it in soft, even light. |
| Favorite place | Cover image or gallery | Use it when the place says something meaningful about their life. |
Choose photos that tell a life story
A balanced set is usually better than hundreds of similar images. Try to include several chapters of life: childhood, school, family, friendships, work, service, travel, hobbies, holidays, and ordinary moments at home.
If you are short on time, start with 5 to 20 photos. A memorial can be updated later, and relatives may share images you have never seen before.
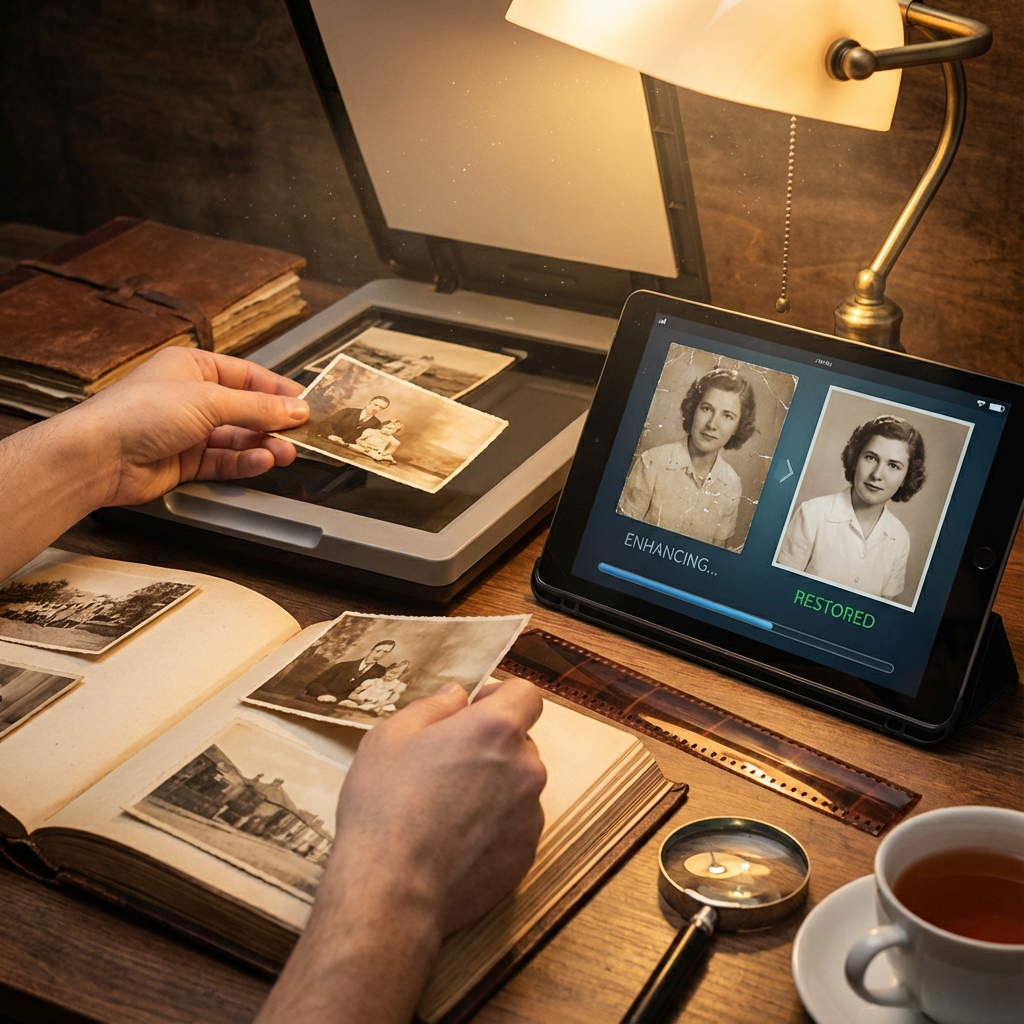
Prepare old printed photos
For printed photos, scanning is best. If you do not have a scanner, a phone can still produce a good result. Place the photo on a flat surface, use natural light from the side, keep the phone parallel, and avoid shadows or glare. Crop the photo after taking it so only the image remains.
Keep edits gentle
Memorial photos should feel true to the person. Improve brightness, crop distracting edges, and straighten the image, but avoid heavy filters that change the mood or make the photo look artificial. If an image is blurry but meaningful, include it with a caption explaining the moment.
Add captions and context
Captions turn photos into memories. Add names, places, approximate dates, or a sentence about why the moment mattered. This is especially helpful for younger relatives or friends who did not know every part of the person's life.
Organize the memorial gallery
Use the gallery for the main shared collection. If the memorial has many photos, group them by theme or time period: Family, Early Life, Travel, Work, Celebrations, or Everyday Moments. Keep the first photos especially strong because they set the tone for the page.
Invite others to contribute
Family and friends often hold photos the owner does not have. Share the memorial link and ask contributors to add photos through the gallery, tributes, or stories depending on the memorial's permissions. If the gallery has a plan limit, the owner can decide whether to keep a smaller curated set or upgrade the memorial for more space.
Final checklist
- One clear profile photo selected
- 5 to 20 meaningful gallery photos added first
- Old prints scanned or photographed cleanly
- Faces cropped clearly for mobile viewing
- Captions added where context matters
- Family invited to share missing photos